Easter Bunny: DIY Button Craft for Easter
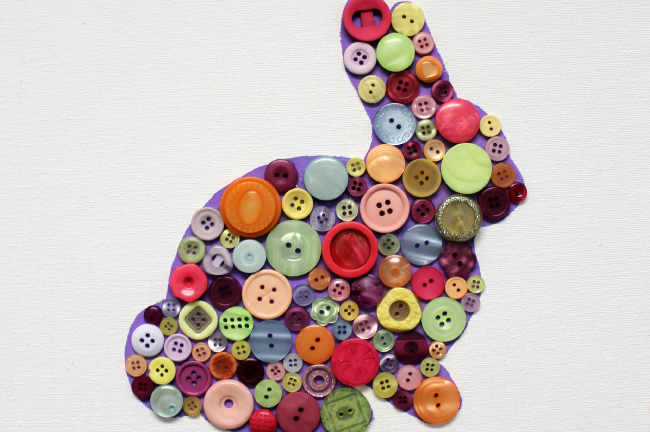
Create this colorful Easter Bunny button craft with your little ones for Easter this year. It’s so easy and convenient that you can have it in your go-to list of Easter arts and crafts.
Let’s start!
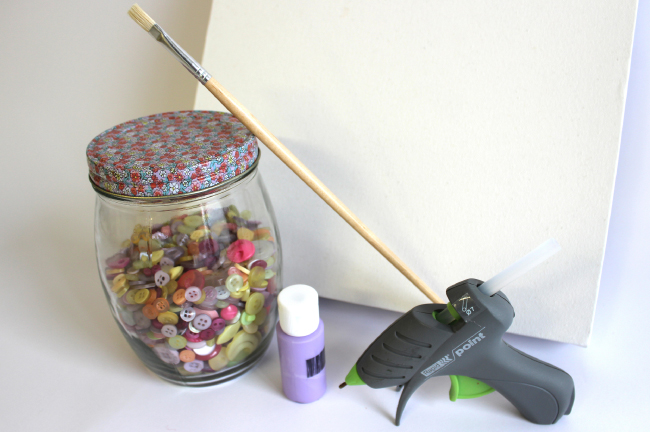
What You Need For An Easter Bunny Button Craft:
1. White square canvas
2. Paint and brush
3. Glue gun
4. Colorful buttons
Steps In Doing An Easter Bunny Button Craft:
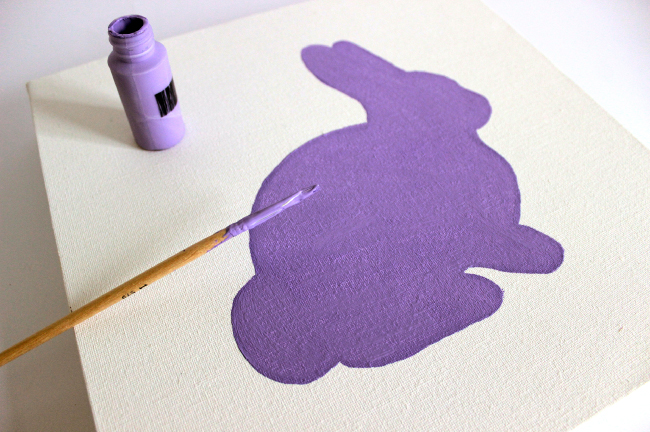
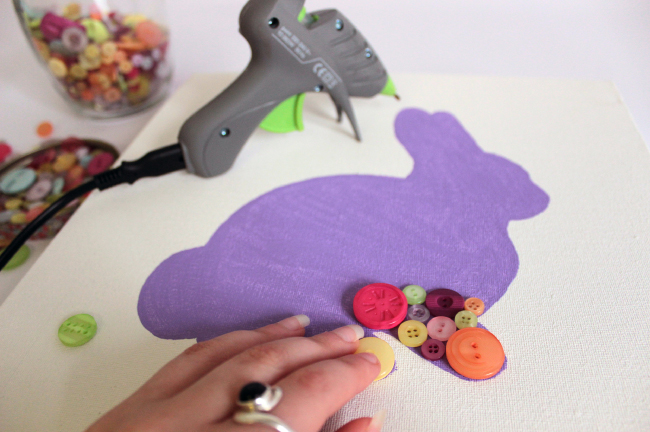
1. Paint a silhouette of your favorite shape, such as a bunny.
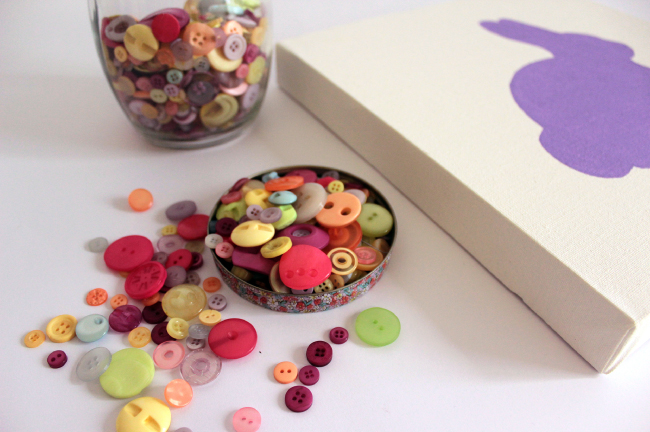
2. Select a cute range of buttons (you can lay them on top of your shape to get your desired look). You’ll be able to rearrange them at this point as they won’t be glued down.
3. Heat up your glue gun and once it’s hot, squeeze a small dab of glue at the back of each button and press them down on top of the canvas until you achieve your desired look.
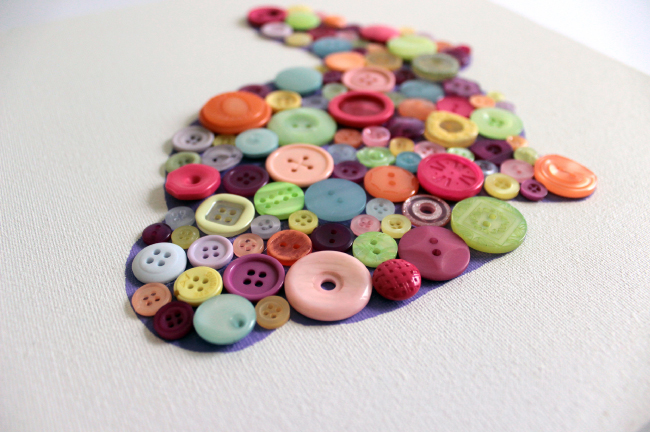
4. Once you’ve glued all the buttons in place, let it sit for a few hours and then check to make sure all the buttons have stayed in place before you hang it on the wall.
Choose a spot where you can display your beautiful Easter Bunny decor at home. Put it in a spot where you and your family always see it so you can admire this masterpiece. Easy, simple artwork that’s done in no time!
Love this button craft idea?
You might want to check out our 13 Eggcellent Easter Crafts For Kids, too! They’re easy and fun Easter arts and crafts that your kids will surely enjoy doing. If you have more Easter crafts ideas, share them with us. We would love to see them! Don’t forget to tag us on Facebook or Instagram, and we might just feature them in one of our next Easter arts and crafts blogs.
Looking for more home decor?
Add a personalized touch to your kid’s room or kitchen with our home decor. Choose from a great range of designs and customize it the way it would look perfect in your little one’s room or in your own kitchen.
