Mini Cupcakes for our School Cake Stall
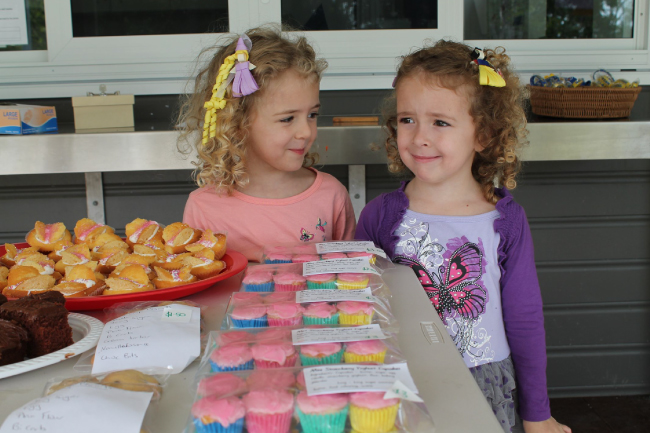
Now that my two children have started kindergarten this year, I am entering the world of parent-organized fundraising to help purchase resources. With a cake stall coming up soon, I am going to get my daughters, Bear and Bee, to help make a version of their favorite mini cupcakes. These Strawberry Yogurt Cupcakes are moist and delicious and their mini versions are sure to be a hot seller.
Mini Cupcakes: Strawberry Yogurt Flavor
What You Need For These Mini Cupcakes:
- 1.76 oz. of unsalted butter, softened
- 1/3 cup caster sugar
- A large egg
- A teaspoon of vanilla extract
- A cup of low-fat strawberry yogurt
- 1 ¼ cups self-raising flour
- ¼ teaspoon baking powder
What You Need For The Icing:
- 1 ½ cups of icing sugar or icing mixture
- 0.35 oz. of unsalted butter
- 1 ½ tablespoons of boiling water
- A few drops of food coloring
Making Of The Mini Cupcakes:
1. Preheat the oven to 350o F and line 2 mini muffin trays with mini cupcake liners.
2. Beat the butter and sugar together with an electric mixer until creamy and pale in color.
3. Add the egg and vanilla and beat until combined.
4. Mix in the yogurt.
5. Sift the flour and baking powder and gently mix into the cake ingredients. Don’t use the electric mixer for this step as the cupcakes can become tough.
6. Spoon the mixture into the cupcake liners. Fill to about two thirds full.
7. Bake for 15 minutes or until they spring back when lightly touched in the center.
8. Cool on a wire rack.
Making Of The Icing:
1. Stir icing sugar, butter, and boiling water in a small bowl until smooth.
2. Add in the food coloring and mix well.
3. Use a spatula to spread the icing onto the cooled cupcakes.
Packing The Mini Cupcakes For A Cake Stall:
1. Place 8 cupcakes onto a small foam tray or foil-covered piece of thick cardboard.
2. Wrap with plastic wrap or place inside a clear cellophane bag or use clear takeaway containers to hold the cupcakes.
3. Don’t forget to add a label printed with the price, the name of the item, and a simple list of ingredients. This will help customers with allergies to avoid any trigger foods.
About The Author:
My name is Maree Mortimer and I am a stay at home mum to twin girls. I share our cooking adventures on my blog threefootcooks. Threefootcooks is a blog about cooking with young children. On it, you will also find information on how to go about cooking with your child, as well as inspiration for what to cook.
http://threefootcooks.blogspot.com.au/
Looking For More Kid-Friendly Recipes?
We have healthy recipes that you and the kids will have fun making and eating. Check out our Healthy Kid-Friendly Recipes, 7 Healthy Snacks For Toddlers. We also have Christmas Food Ideas for when your kids need to bring food to share at their Christmas Party.
Need Some Pantry Labels?
Check out our Chalkboard Labels. Perfect for moms who love to organize and keep their kitchen looking aesthetically pleasing beautifully arranged and labeled things. Add a Chalkboard panel for your pantry to keep a list of things to buy or for some quick reminders too.
