Road Letter Wall Decor
Kids’ Road Wall
Do you have a little boy or girl who loves cars and roads? Here is a letter wall decor tutorial that is easy to put together. You will only need wall letter decals and a few other materials that you can find at home.
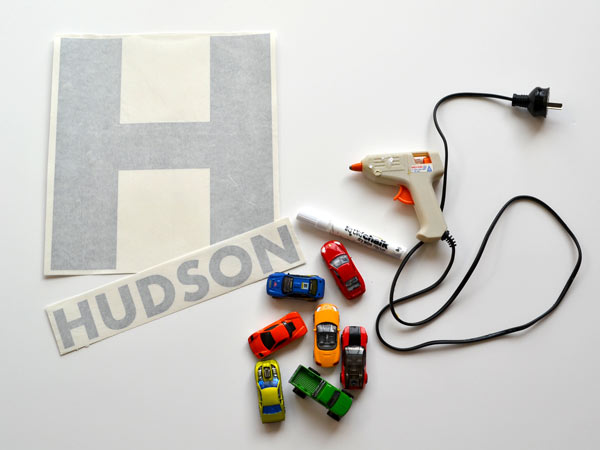
Materials For A Road Letter Wall Decor:
- Wall Letters from Bright Star Kids
- Hot glue gun
- White Chalk Marker
- Various cars in different colors
- Pencil & ruler (not pictured)
Steps In Doing A Road Letter Wall Decor:
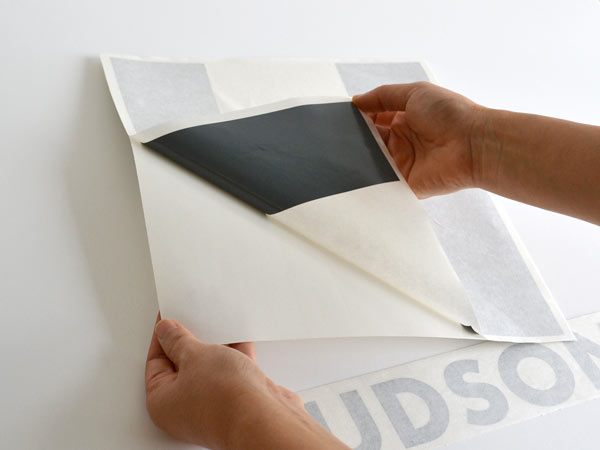
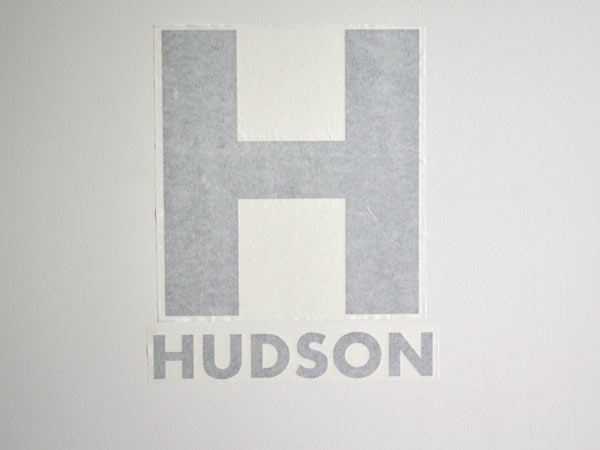
Peel off your wall letters.
Your wall letters will come with masking tape over the top. Peel the wall letters away from the backing sheet, making sure the wall letters are stuck onto the masking tape.
Position the letters on your wall.
Lightly stick the letters onto your wall and make sure they are correctly positioned.
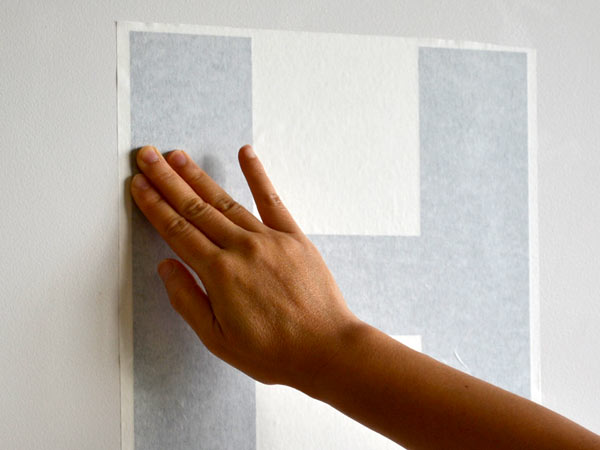
Smooth the wall letters down firmly.
Once you are happy with the position of the wall letters, smooth the wall letters down firmly. This ensures the wall letters will adhere to your surface.
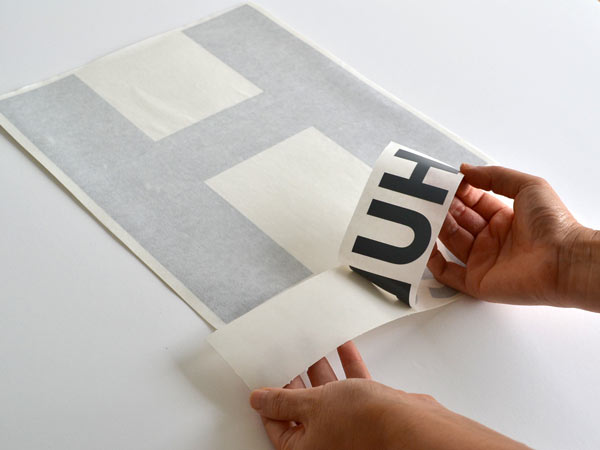
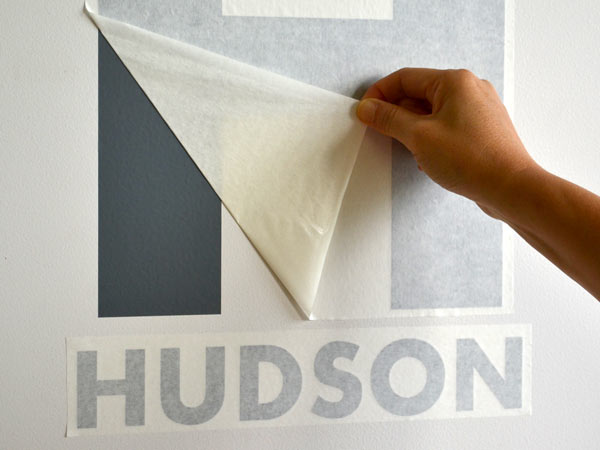
Start peeling the masking tape off.
Once firmly smoothed down, you can peel away the masking tape.
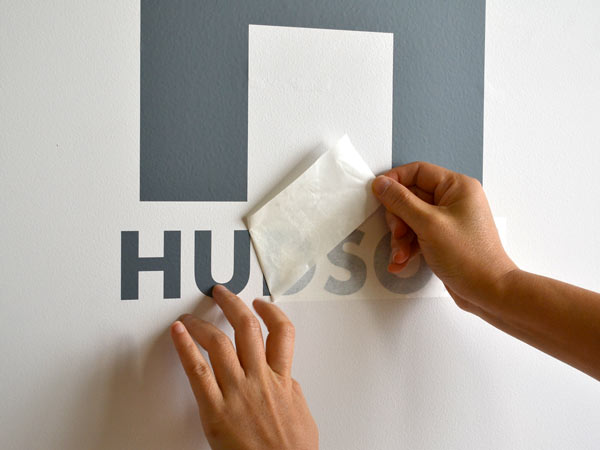
Once done with the first letter, move onto the rest of the wall letters.
Finishing The Rest Of The Letter Wall Decor:
If any of the wall letters stay stuck onto the masking tape, grab a corner of the wall letter and peel it away from the masking tape and stick it onto the wall.
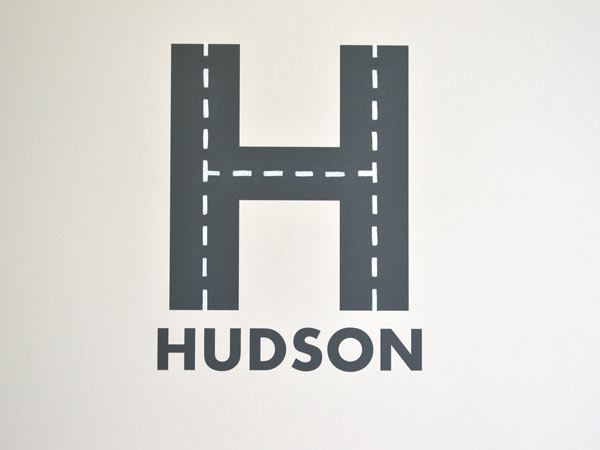
There you have it! The letter wall decor as your base for the road design is finished. Now, let’s move forward to designing the letter wall.
Almost there!
Road To Finish Line
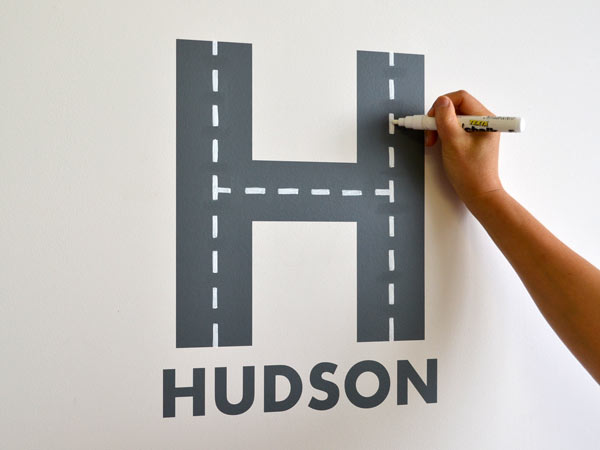
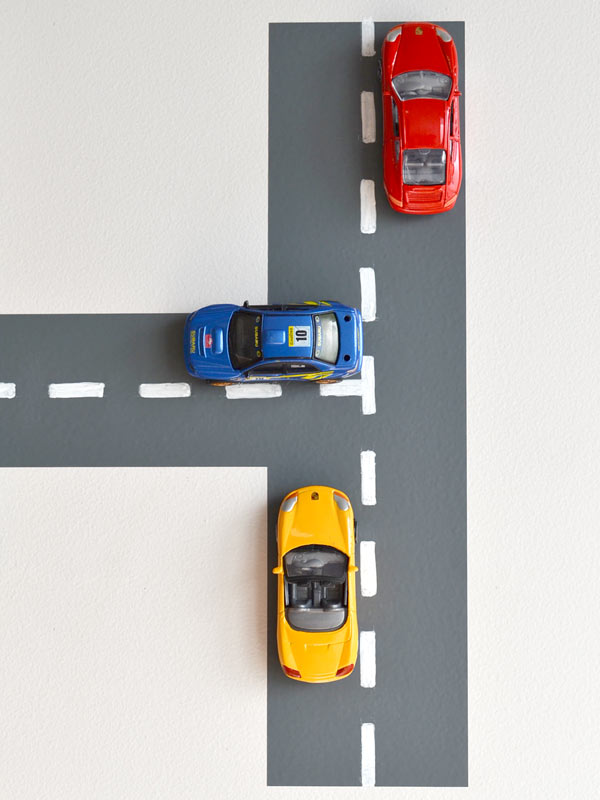
Using a ruler and a pencil, mark out where you want the road markings to be. Here, I have made the white lines around 0.5 cm wide and 2 cm long, with a 1.5cm break. Color in the road markings with a white liquid chalk marker. This white chalk marker works really well and if I make a mistake, I can easily wipe it off with a damp tissue.
If you want it to be more permanent, you can also paint it with white acrylic paint. I have tested painting onto the wall letters and they paint on well. With either the chalk marker or paint, you will need to put 2-3 layers on to ensure the white really stands out.
Road Construction Finished
Done with the construction of the road! It looks great as is, however, a road will not look like a road if there are no cars. So that’s the next and last thing we’re going to do.
Cars On The Road
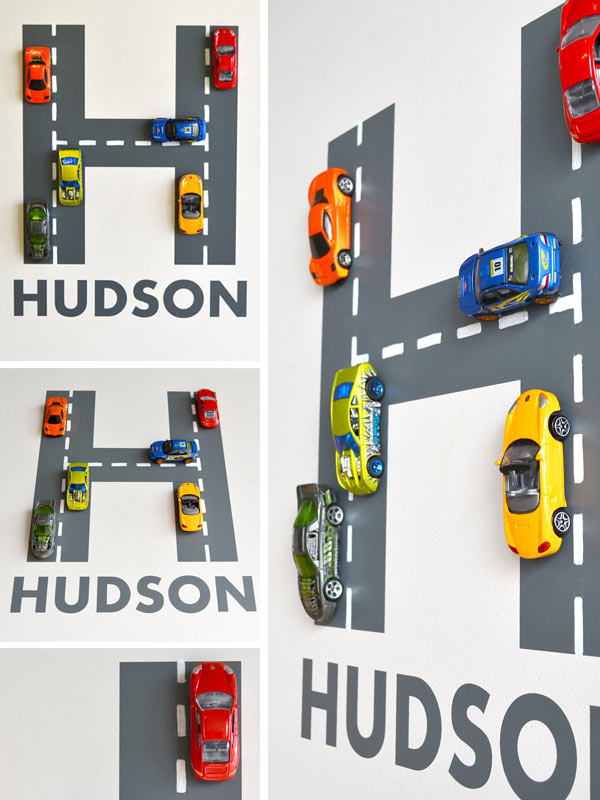
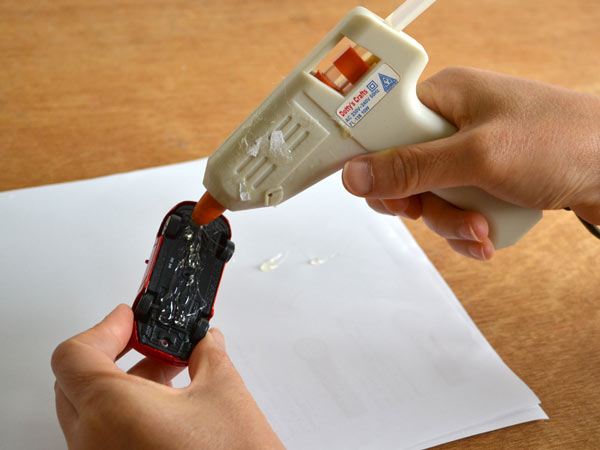
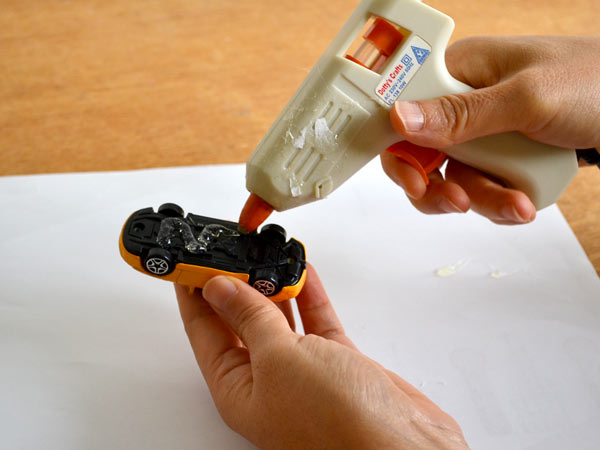
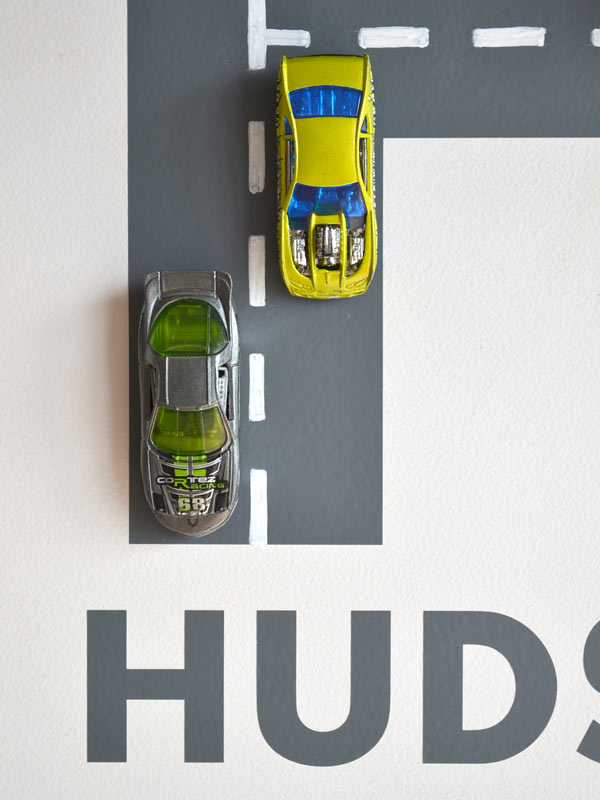
Glue the cars on. Play around with the configuration of where you want the cars to go on your wall letter. Once you are happy, heat up your glue gun and apply some glue onto the back of your car. Note that some cars require more glue than others.
For cars that have bigger wheels, apply a layer of glue near the wheels so they don’t move, and wait for it to set before applying another layer of glue to stick the car onto the wall letter itself.
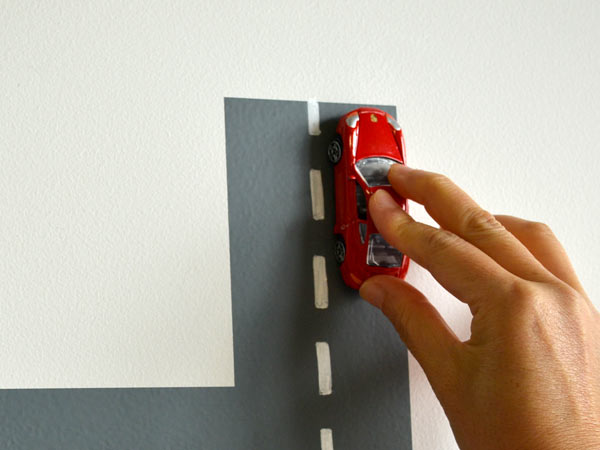
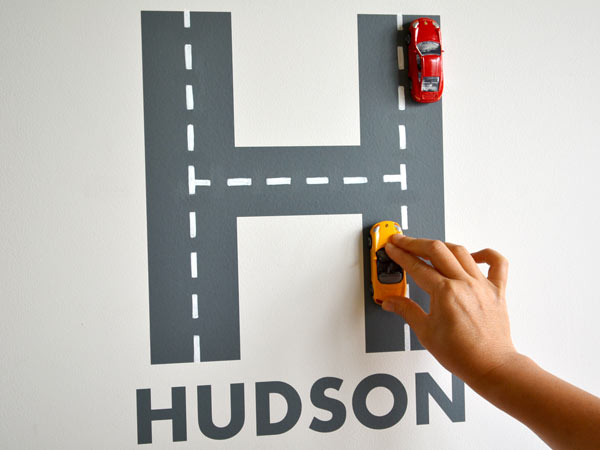
Press and hold the car in place for about 60 seconds. If you see that they don’t stick or if they are moving, you may need to put some more glue.
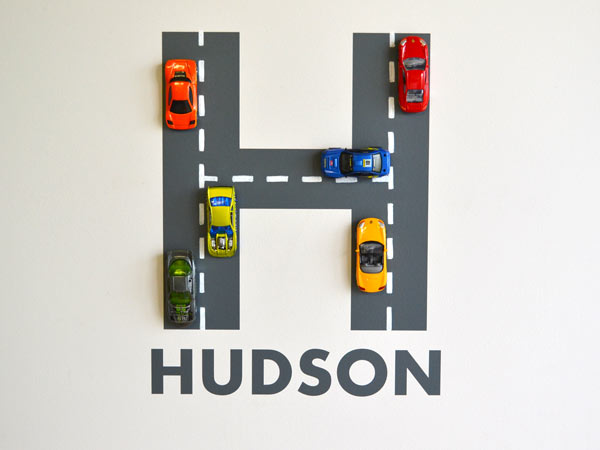
Keep gluing the cars on until you achieve the look of the road that you desire.
Choose between having a quiet or busy road.
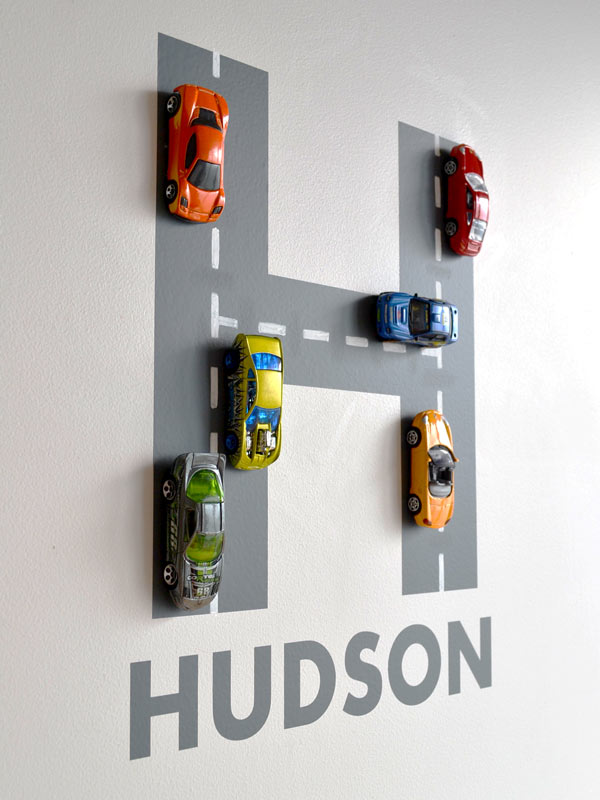
Road Letter Wall Decor Is Done
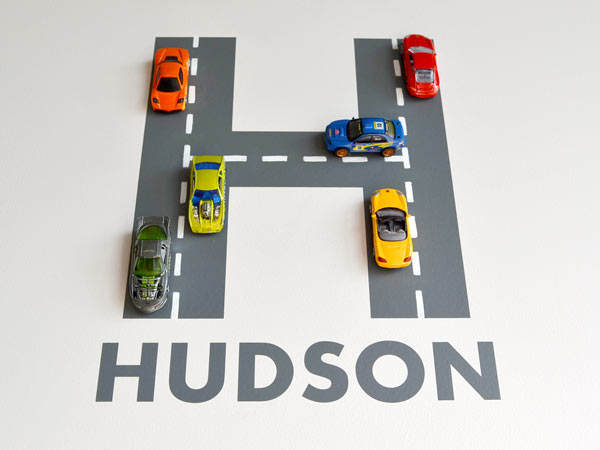
For this one, I found the 30 cm wall letters in the Hero font worked perfectly to have 2 lanes.
Now, this is perfect for when you want to surprise your little one who loves roads and cars.
We hope you enjoyed this Road Letter Wall Decor Tutorial. We would love to see the ones you have done – post them on Facebook or Instagram, and don’t forget to tag us for we might just feature them in one of our blogs.
Looking For More Wall Art Ideas?
Check out our list of 10 Kids’ Art Display Ideas and our Crafts For Kids – Canvas Art that you and your enjoy kids may enjoy doing together.
More Wall Letters For The Kids’ Rooms?
Besides the various wall letters that we have, there is also a great range of kiddie wall decals that you can choose from for your kids’ bedrooms. You may also check out our new door designs that a lot of kids really love! The best part? They’re all made in the USA and shipped super fast!
